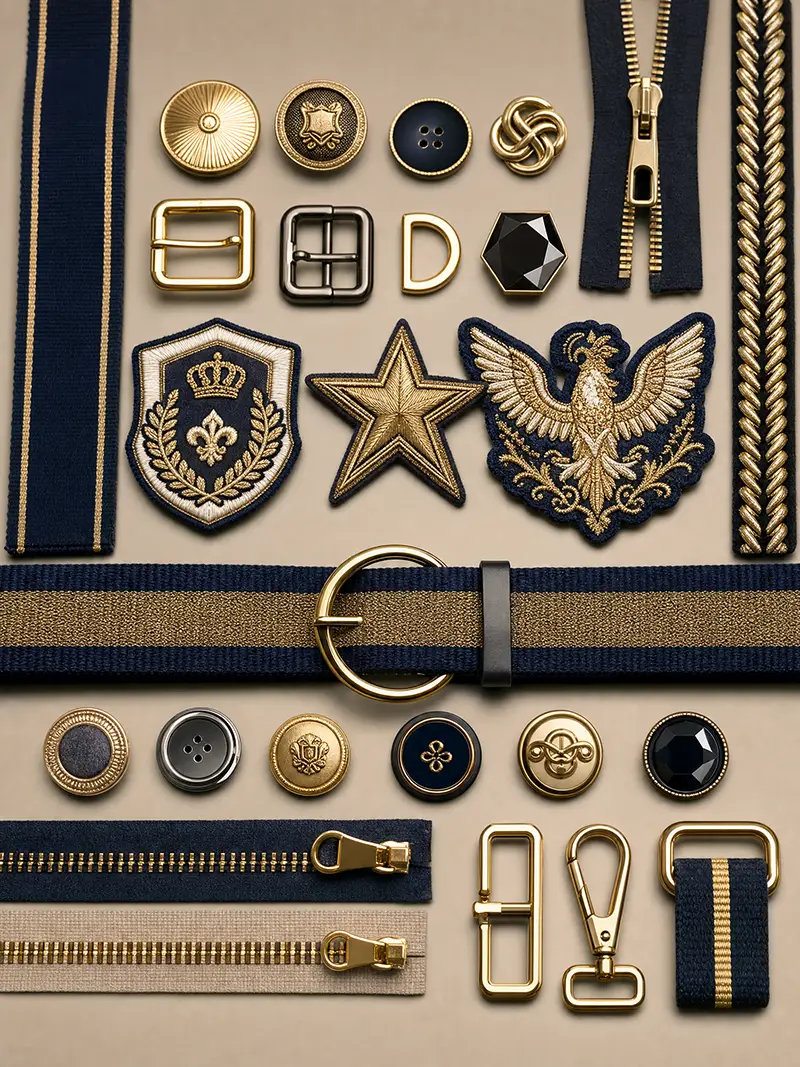
Screen printing vs embroidery is not a contest with one universal winner. For hoodies, screen printing usually suits broad, flat graphics and repeat production, while embroidery suits compact marks that need thread texture and dimension. The right choice depends on the artwork, placement, fabric surface, order structure, wash route, and the evidence approved before bulk production.
Quick answer: Use screen printing when the design needs a large printable area, clean spot colors, or a softer result than a high-stitch-count logo would provide. Use embroidery when a smaller logo should look tactile and structured. A left-chest embroidery with a printed back graphic can be the most practical answer when both effects belong in the same collection.
There is no universal minimum line width, stitch size, wash-life claim, or price advantage. Ask the selected factory to confirm limits on the actual artwork, fabric, color, placement, quantity, and care procedure.
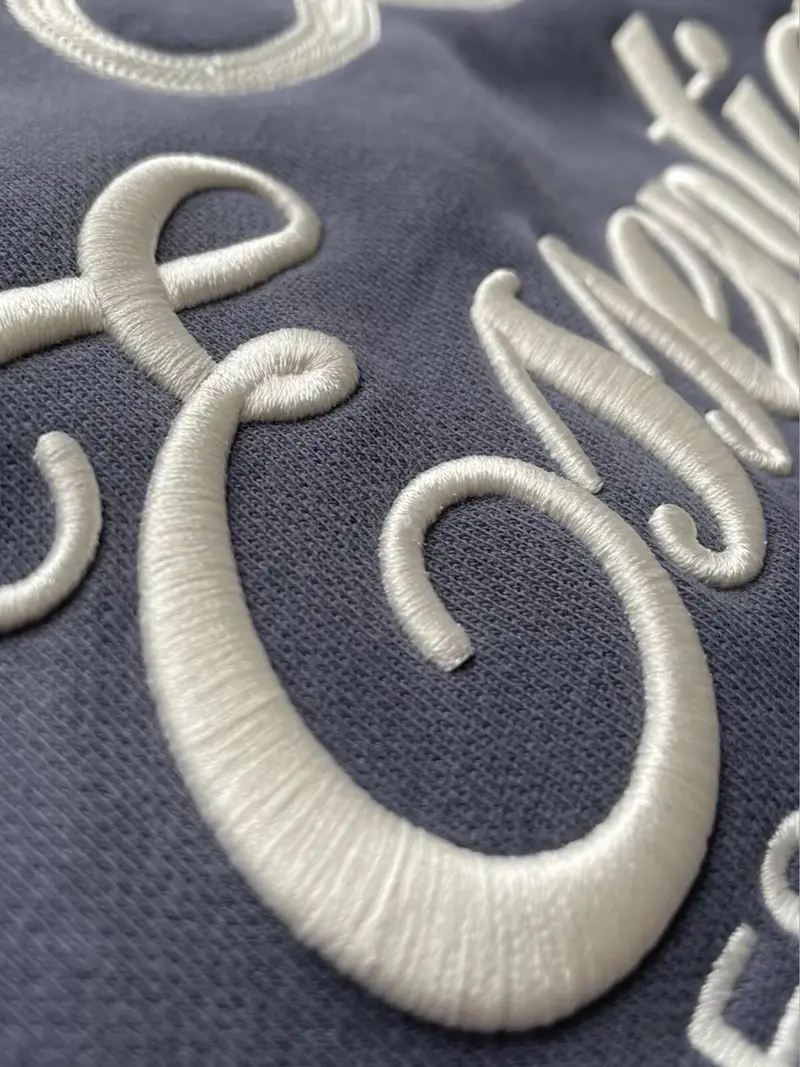
Screen Printing vs Embroidery: The Practical Decision Rule
| Decision factor | Screen printing is usually the better starting point | Embroidery is usually the better starting point |
|---|---|---|
| Visual direction | Poster-like graphics, flat color, halftones, distressed art, large back designs | Monograms, crests, small logos, varsity marks, dimensional branding |
| Coverage | Medium to large areas where thousands of stitches would add weight | Small to medium areas where thread texture is part of the design |
| Detail | Fine flat detail after the printer confirms mesh, ink, and artwork limits | Shapes that remain legible after digitizing; tiny counters and thin lettering need testing |
| Hand feel | Can range from light to substantial depending on ink system and coverage | Always adds thread, backing, and local stiffness to some degree |
| Main cost drivers | Color separations, screens, setup, underbase, print locations, ink system, quantity | Digitizing, stitch count, machine time, thread changes, backing, hooping, trimming |
| Main failure risks | Poor opacity, misregistration, dye migration, incomplete cure, cracking, color transfer | Puckering, gaps, thread breaks, distorted lettering, visible backing, fabric damage |
This table is a briefing tool, not a production approval. Two suppliers can quote different methods because their equipment, operators, ink systems, digitizing standards, and production capacity differ. Compare the approved result and written specification, not the process name alone. Dohyee’s custom apparel techniques page shows print, embroidery, transfer, appliqué, and raised-effect options that can be discussed during development.
Run These 9 Checks Before Choosing a Hoodie Decoration
- Read the artwork at finished size. A logo that looks clean on a monitor may lose open spaces when reduced or stitched.
- Mark the exact placement. Hood seams, pockets, zippers, rib, and bulky seams restrict printing platens and embroidery hoops.
- Inspect the fabric face. Brushing, loops, texture, stretch, and loose fibers affect edge definition and stability.
- Confirm the garment color. Dark or unstable shades may require an underbase, migration control, or an adjusted thread plan.
- Separate visual color from process color. A digital RGB image is not a production color approval. Define named references and physical standards.
- Specify the tactile target. State whether the design should feel soft, rubbery, matte, glossy, flat, raised, dense, or intentionally distressed.
- Map the finish sequence. Decoration before garment washing can age with the hoodie; decoration after washing may look cleaner but requires stable dimensions.
- Compare the complete cost model. Include setup, sample revisions, every location, special materials, inspection, and expected rework.
- Approve test evidence. Review an actual strike-off or sew-out, a complete decorated garment, and the agreed post-care result.
Prepare Different Artwork for Printing and Embroidery
The same logo should not be sent blindly to both departments. Screen printing normally begins with separable artwork: each color, underbase, highlight, and special-effect layer must be identifiable. Embroidery begins with digitizing, which assigns stitch types, directions, sequence, density, underlay, pull compensation, and trims. Digitizing is production engineering, not a one-click file conversion.
Screen-print artwork fields
- Finished width and height in millimeters, with no instruction to “scale to fit.”
- Vector paths where appropriate, linked or embedded raster assets, and the original editable file.
- Named spot colors, color-separation intent, underbase requirement, and print order if controlled.
- Notes for halftones, distress, puff, high-density, metallic, reflective, or other special effects.
- Placement measured from stable garment points rather than a floating screenshot.
Embroidery artwork fields
- Finished dimensions, approved thread colors, stitch appearance, and the exact garment location.
- Flat, satin, fill, 3D foam, appliqué, chain, or mixed technique where relevant.
- Backing and topping plan, edge treatment, thread-trim standard, and inside appearance requirement.
- A sew-out on production fabric; a digitized file alone does not prove the finished result.
Adobe’s official Photoshop print guidance explains that vector shapes and type can retain vector edges in supported print workflows, while some effects require rasterization. The practical factory rule is simpler: send editable source files, fonts or outlined type, placed image assets, and a reference PDF, then let the production team confirm what must be rebuilt.
Measure Hoodie Artwork Placement from Fixed Points
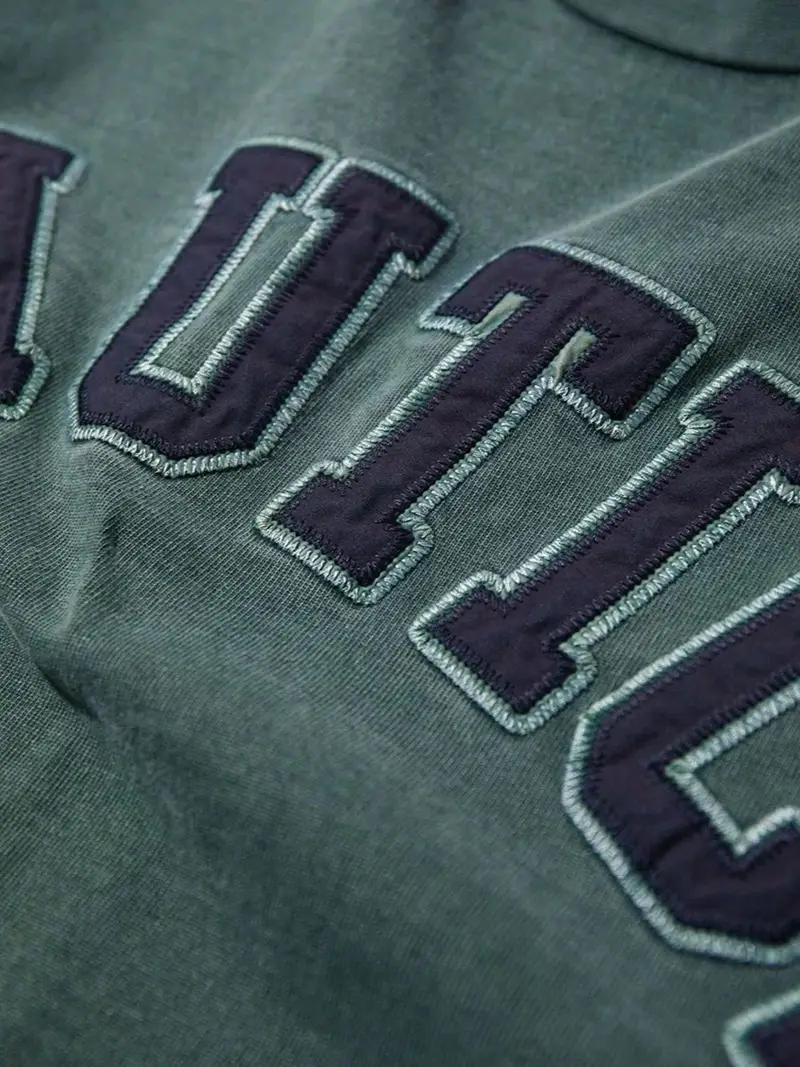
“Left chest” or “center back” is not enough for repeat production. Put a placement diagram in the tech pack and record both artwork size and coordinates. Measure the left-chest mark from the center front and high-point shoulder, a back graphic from center back and the hood or neckline seam, and a sleeve mark from the shoulder or cuff with its rotation stated.
| Location | Record in the tech pack | Physical constraint to check |
|---|---|---|
| Left chest | Width, height, center position from center front and HPS | Pocket, zipper, drawcord, thick seam, size grading |
| Full front | Top edge or center from HPS; distance from center front | Kangaroo pocket and platen access |
| Full back | Width, height, top edge from neckline or hood seam | Hood overlap when worn and cross-back seam |
| Sleeve | Distance from shoulder or cuff; orientation along sleeve | Taper, seam, hoop or platen access |
| Hood | Panel, side, distance from seam, reading direction | Curvature, lining, drawcord channel, seam allowance |
Approve placement on at least one physical size, then state the grading rule. A fixed center may look wrong across a wide size range, while proportional scaling may create unnecessary artwork versions. Record the chosen rule instead of letting each production batch improvise.
Match the Process to Fleece, French Terry, and Heavyweight Hoodies
A smooth cotton-rich face can support crisp printing, but fiber content alone does not predict the result. Knit density, surface hair, silicone softener, garment dye, residual chemicals, stretch, and moisture all matter. Brushed fleece may hide fine embroidery edges or interfere with print definition. Loopback French terry can distort if the hoop tension or backing is wrong. A heavyweight hoodie can carry a bold treatment, yet thick seams and a large hood make some placements harder to handle.
Review finished fabric data before decoration. The best GSM for hoodies guide explains why equal GSM fabrics can behave differently, while Dohyee’s custom apparel fabrics page provides material categories for development. Always test the selected process on the final fabric color and finish.
Compare Cost with Formulas, Not a Single Price Claim
Screen printing often carries fixed setup by color and location, then a variable printing cost per unit. Embroidery often carries digitizing setup, then variable machine time driven largely by stitches, stops, thread changes, hooping, and trimming. Neither method is automatically cheaper at every quantity.
Screen-print unit cost model = variable print cost + (screen and setup cost / accepted quantity) + special-process cost + allocated testing and rework
Embroidery unit cost model = variable machine and handling cost + (digitizing cost / accepted quantity) + backing or appliqué cost + allocated testing and rework
| Accepted quantity | Fixed setup allocated per garment | Meaning |
|---|---|---|
| 50 pieces | Setup / 50 | Each piece carries 2% of the fixed setup |
| 100 pieces | Setup / 100 | Each piece carries 1% of the fixed setup |
| 500 pieces | Setup / 500 | Each piece carries 0.2% of the fixed setup |
This is arithmetic, not a quotation. It shows why quantity changes fixed-cost allocation by a factor of ten between 50 and 500 accepted units. Ask suppliers to separate setup, per-piece production, each print or embroidery location, sampling, special effects, testing, and packaging. A low headline price is not comparable if it excludes an underbase, back location, thread backing, or failed-piece allowance.
Approve a Strike-Off or Sew-Out Before a Complete Sample
A print strike-off checks color, opacity, edge definition, texture, and effect on the nominated fabric. An embroidery sew-out checks digitizing, thread color, coverage, puckering, backing, trims, and readability. Mark the approved version with date, artwork version, dimensions, colors, substrate, process notes, and approver.
Next, place the approved decoration on a complete hoodie. This reveals issues that a flat fabric swatch cannot: seams change contact pressure, the hood covers a back graphic, a pocket interrupts the front, a zipper changes centering, and the finished garment may shift during washing. For a wider development sequence, use the custom hoodie manufacturer guide.
Build a Decoration Quality-Control Sheet
| Checkpoint | Screen printing | Embroidery |
|---|---|---|
| Identity | Artwork revision, colors, ink/effect, garment shade | Digitizing revision, thread codes, backing, garment shade |
| Dimensions | Printed width, height, placement, registration | Sewn width, height, placement, rotation |
| Appearance | Opacity, pinholes, edge, surface, contamination | Coverage, gaps, loose threads, puckering, distortion |
| Process evidence | Agreed cure and process records where required | Approved machine file, sequence, backing and hoop setup |
| Post-care | Cracking, peeling, color change, transfer, garment distortion | Thread change, shrinkage mismatch, puckering, backing behavior |
For rubbing color transfer, AATCC TM8 describes controlled dry and wet crocking procedures for colored textiles. For laundering, ISO 6330:2021 specifies domestic washing and drying procedures, while ISO 105-C06:2010 addresses colorfastness to domestic and commercial laundering. The buyer and supplier must agree which methods, cycles, acceptance criteria, and test laboratory apply; naming a standard without those details is incomplete.
Decide Whether Decoration Happens Before or After Garment Washing
Printing or embroidery before a garment wash can create an integrated vintage result, but the decoration must survive the actual chemical, mechanical, temperature, and drying route. Decorating after washing protects the artwork from that process, yet the garment must be dimensionally stable enough for accurate placement and the surface must still accept the selected ink or backing.
Make two samples when the sequence is uncertain. Keep all variables equal except decoration timing, then compare shade, hand, artwork dimensions, placement, cracking, transfer, puckering, and garment measurements. The garment washing techniques guide maps common wash variables and approval points.
Know When DTG, Transfer, Silicone, or Applique Is a Better Fit
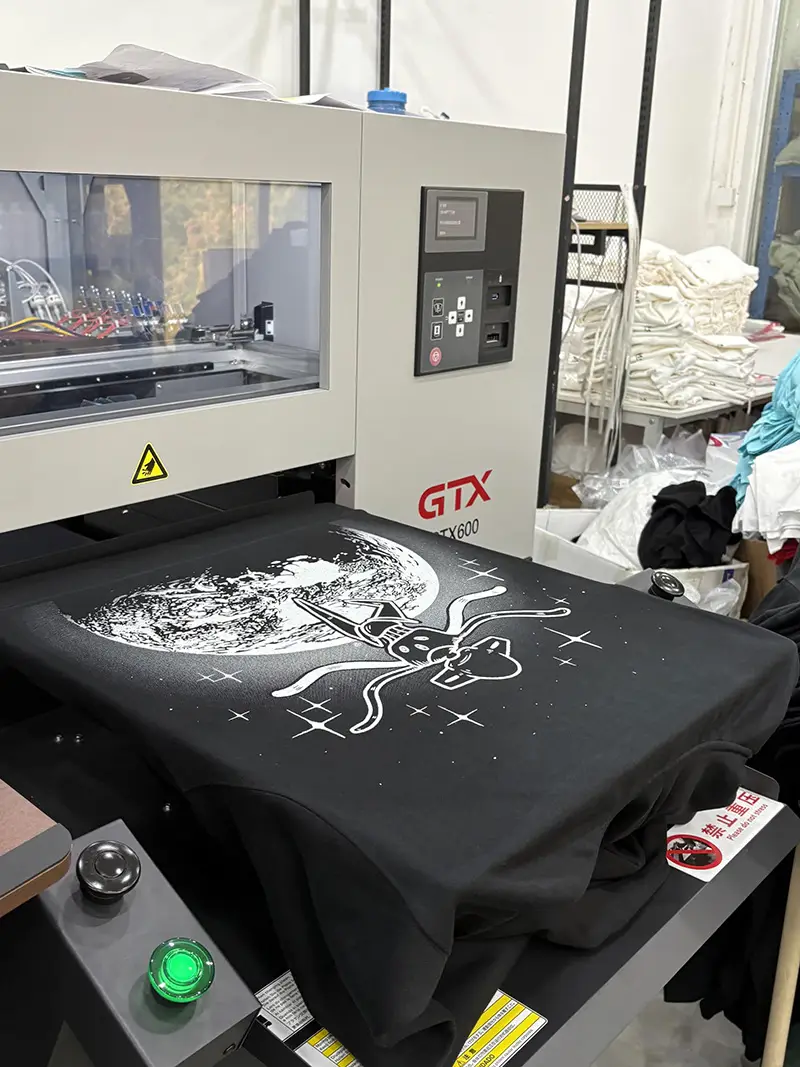
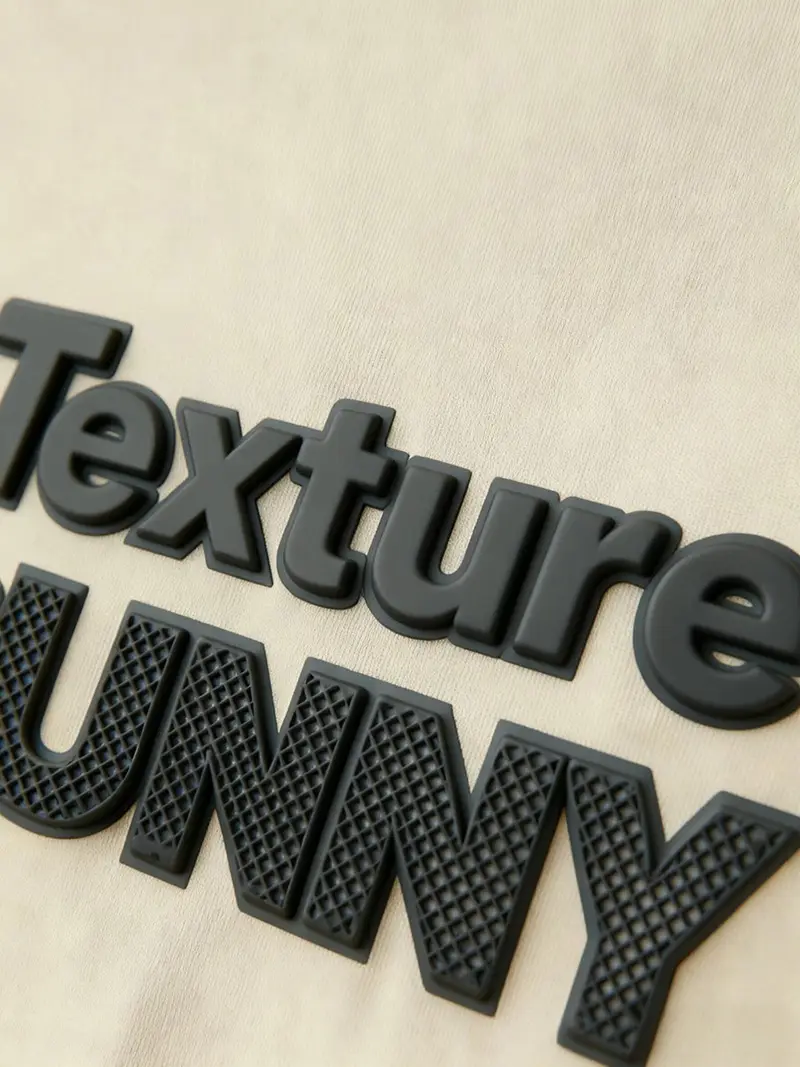
Some artwork does not belong in a forced screen-print-versus-embroidery choice. Direct-to-garment printing may suit detailed digital imagery after fabric, pretreatment, white ink, and cure trials. Heat transfer can support certain short runs or specialty effects, subject to film hand, pressing, stretch, and wash testing. Silicone can create a raised molded effect. Appliqué can cover a large area with fabric while embroidery secures the edge.
Put These Details in the Decoration Tech Pack
- Editable artwork, reference PDF, file version, finished dimensions, orientation, and named colors.
- Garment style, color, fiber composition, finished GSM, surface, stretch, and wash finish.
- Placement diagram with fixed measurement points and a rule for different garment sizes.
- Print colors, separations, underbase, texture, opacity, special effect, or embroidery stitch appearance.
- Thread codes, backing, topping, appliqué fabric, trims, inside-finish requirement, and loose-thread limit where relevant.
- Decoration sequence relative to dyeing, washing, sewing, pressing, labels, and packaging.
- Strike-off or sew-out approval, complete sample, care test, acceptance criteria, and retained reference.
- Quantity by color and size, acceptable overage or shortage, destination, packing method, and delivery window.
Decoration must also work with brand trims and packaging. Use the custom clothing labels and packaging guide and Dohyee’s custom apparel accessories page to coordinate woven labels, hang tags, zippers, drawcords, and bags with the approved hoodie.
FAQ About Screen Printing vs Embroidery
Is screen printing or embroidery better for hoodies?
Screen printing is usually the first option for broad flat graphics; embroidery is usually the first option for compact tactile logos. Approve the actual design on production fabric.
Which method lasts longer on a hoodie?
No honest universal answer exists. Ink system, cure, thread, digitizing, backing, fabric, washing, and care determine durability. Request an agreed wash and inspection protocol.
Is embroidery always more expensive than screen printing?
No. Printing cost changes with colors, screens, locations, effects, and quantity. Embroidery cost changes with stitches, machine time, size, backing, and handling. Compare itemized quotes.
Can a heavyweight hoodie be screen printed?
Yes, if the face, seams, finish, garment color, platen access, ink system, and curing route are compatible. Heavy GSM alone does not guarantee a good print.
Can small text be embroidered clearly?
Sometimes, but there is no universal minimum. Font shape, height, stroke, thread, fabric, density, and digitizing interact. Judge a full-size sew-out.
Can a hoodie use embroidery and screen printing together?
Yes. A common design system uses small chest embroidery and a larger printed back. State process order and check that placements do not interfere with each other.
Should decoration be applied before garment washing?
Only when the sampled decoration survives that exact wash route and the aged appearance is intentional. Otherwise, compare a post-wash decoration sample.
What should a brand approve before bulk production?
Approve the artwork version, size, placement, colors, fabric, process specification, strike-off or sew-out, complete garment, post-care result, tolerance, and reference sample.
Primary References
- Domestic wash and dry procedures: ISO 6330:2021.
- Laundering colorfastness: ISO 105-C06:2010.
- Dry and wet crocking: AATCC TM8, Colorfastness to Crocking.
- Textile test-method directory: AATCC Standard Test Methods and Procedures.
- Textile chemical inputs: OEKO-TEX ECO PASSPORT, which covers textile chemicals, colorants, auxiliaries, and eligible printing formulations.
- Commercial print files: Adobe Photoshop print basics.
Request a Comparable Decoration Sample
Send the same brief to each supplier: editable artwork, finished size, garment drawing, fabric and color, placement coordinates, quantity by color and size, desired surface, wash sequence, destination market, care route, testing requirement, packaging, and deadline. Ask the supplier to identify risks and propose a screen-print strike-off, embroidery sew-out, or both before quoting bulk as final.
Dohyee’s OEM streetwear service page outlines the wider product-development route. Submit the hoodie specification and artwork through the Dohyee contact page for a feasibility review and itemized sample plan.